CMS UI Overview
You reach the cms by navigating to {yoursite}/admin/.
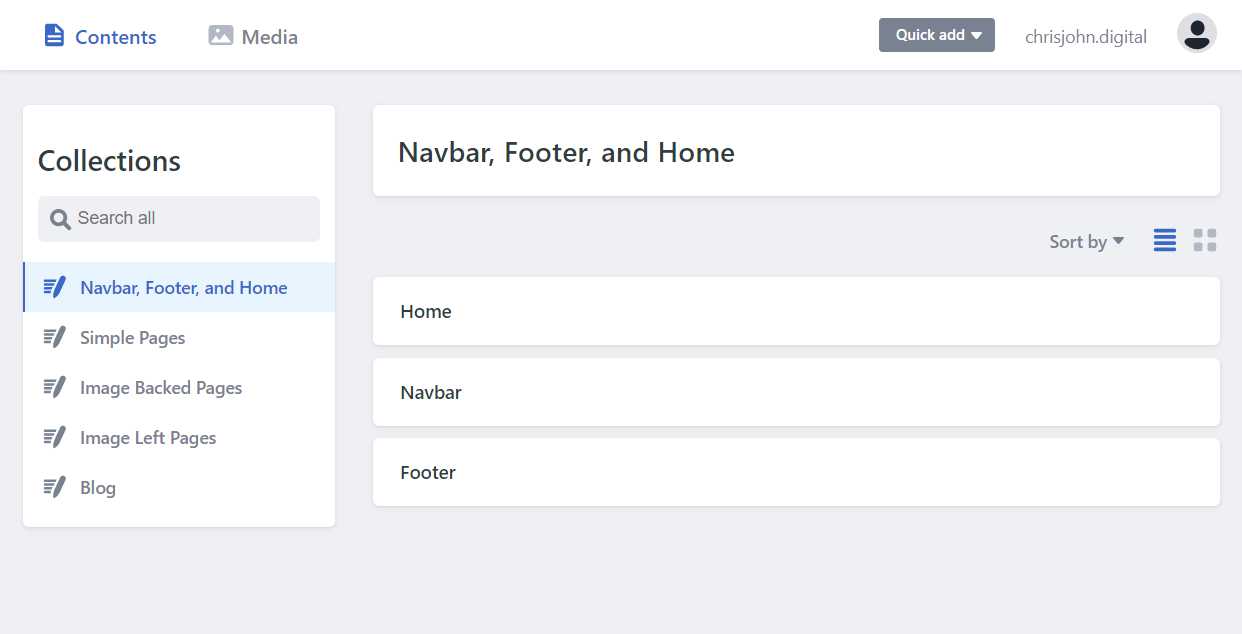
In the bar at the top of the page “Contents” will take you to the initial view ({yoursite}/admin/). “Media” will open a window to allow you to manage your images. “Quick Add” will display a dropdown of the types of pages you can add to the site. The URL in the upper right corner will take you to the live site if you click it. Lastly the silhouette in the upper right corner will let you logout.
Collections
Along the left side of the screen are the “Collections”. There are two types of collections, though the UI doesn’t distinguish between them. The most common type of collection is a list of files that all use the same template. The template defines the general structure of the page and what information you need to supply. Generally you can add a new page of this type to the website either through the Quick Add or by clicking the “New {Page Type}” button when looking at the list of pages. “Simple Pages”, “Image Backed Pages”, “Image Left Pages”, and “Blog” are all this kind of collection.
The second type of collection is specific files that can be edited. These files don’t share a template. The “Navbar, Footer, Home, and Contacts” is an example of this. Each of these files has its own template and fields for you to edit.
In the center of the screen is the list of files in the currently selected collection. Taping on a file will open that for editing.
Making a change
Making a change to the website is easy.
- Open the page you want to edit.
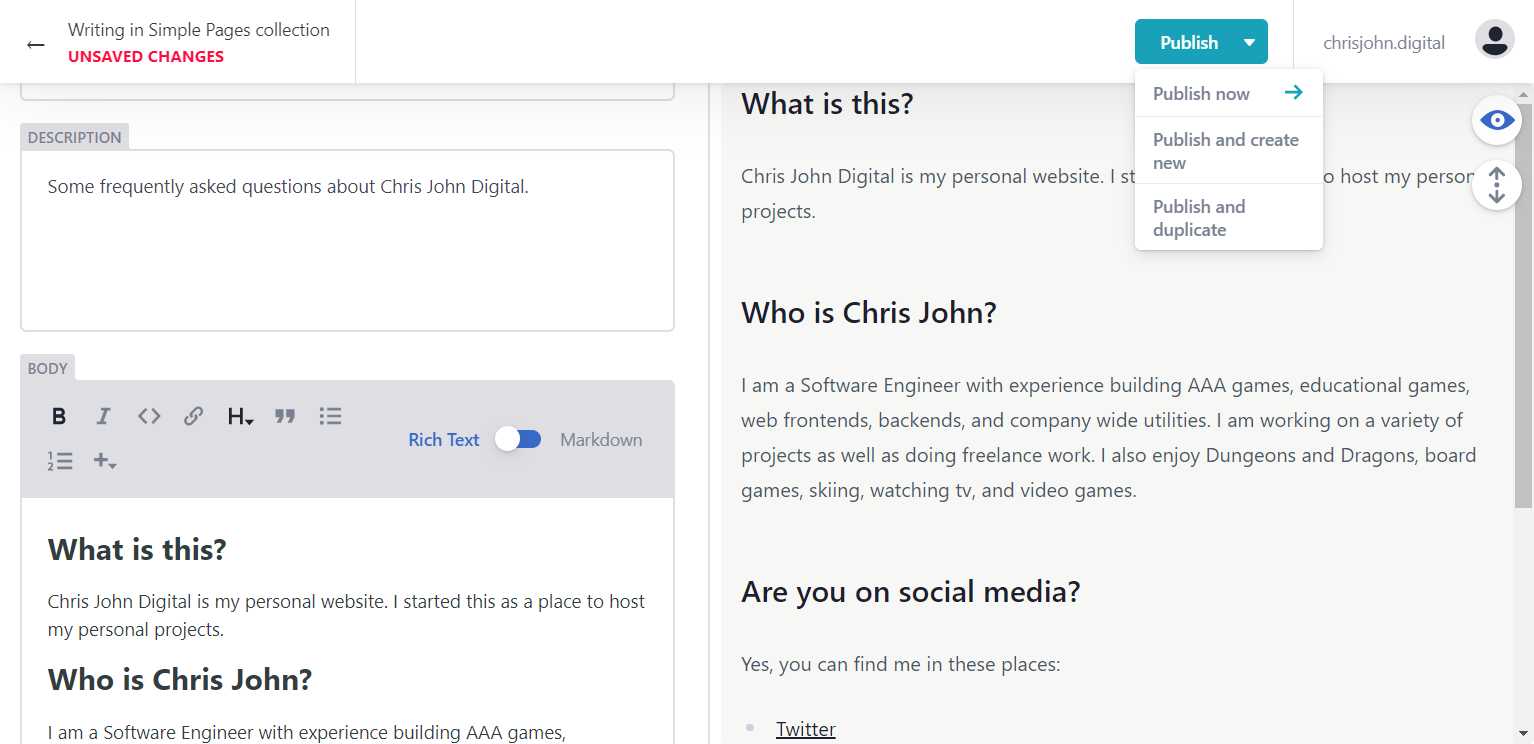
- Make the changes you want to see. You'll be able to see a preview of the changes on the right half of the screen.
- Click Publish in the upper right part of the screen. On some pages there will be options, in the publish dropdown. In most cases you likely just want to select “Publish Now”.
When you publish changes it begins a process that will update the page users see. This process takes approximately 5 to 10 minutes, so don’t be alarmed if the page isn’t immediately updated.
- The CMS saves the changes to GitHub.
- A server is notified of the change in GitHub and processes the changes to update the site.
- The new updated files are uploaded to a CDN which serves the files to users.
Note that if you make changes and don’t publish them they will be lost. There is a mode that can be used which allows for an Edit (and save and re-edit) -> Approve -> Publish workflow if that is desired, but by default it is not enabled to keep the UI simple.
Publish Mode
By default, all entries created or edited in the CMS are committed directly into the main repository branch.
The publish_mode option allows you to enable "Editorial Workflow" mode for more control over the content publishing phases. All unpublished entries will be arranged in a board according to their status, and they can be further reviewed and edited before going live.
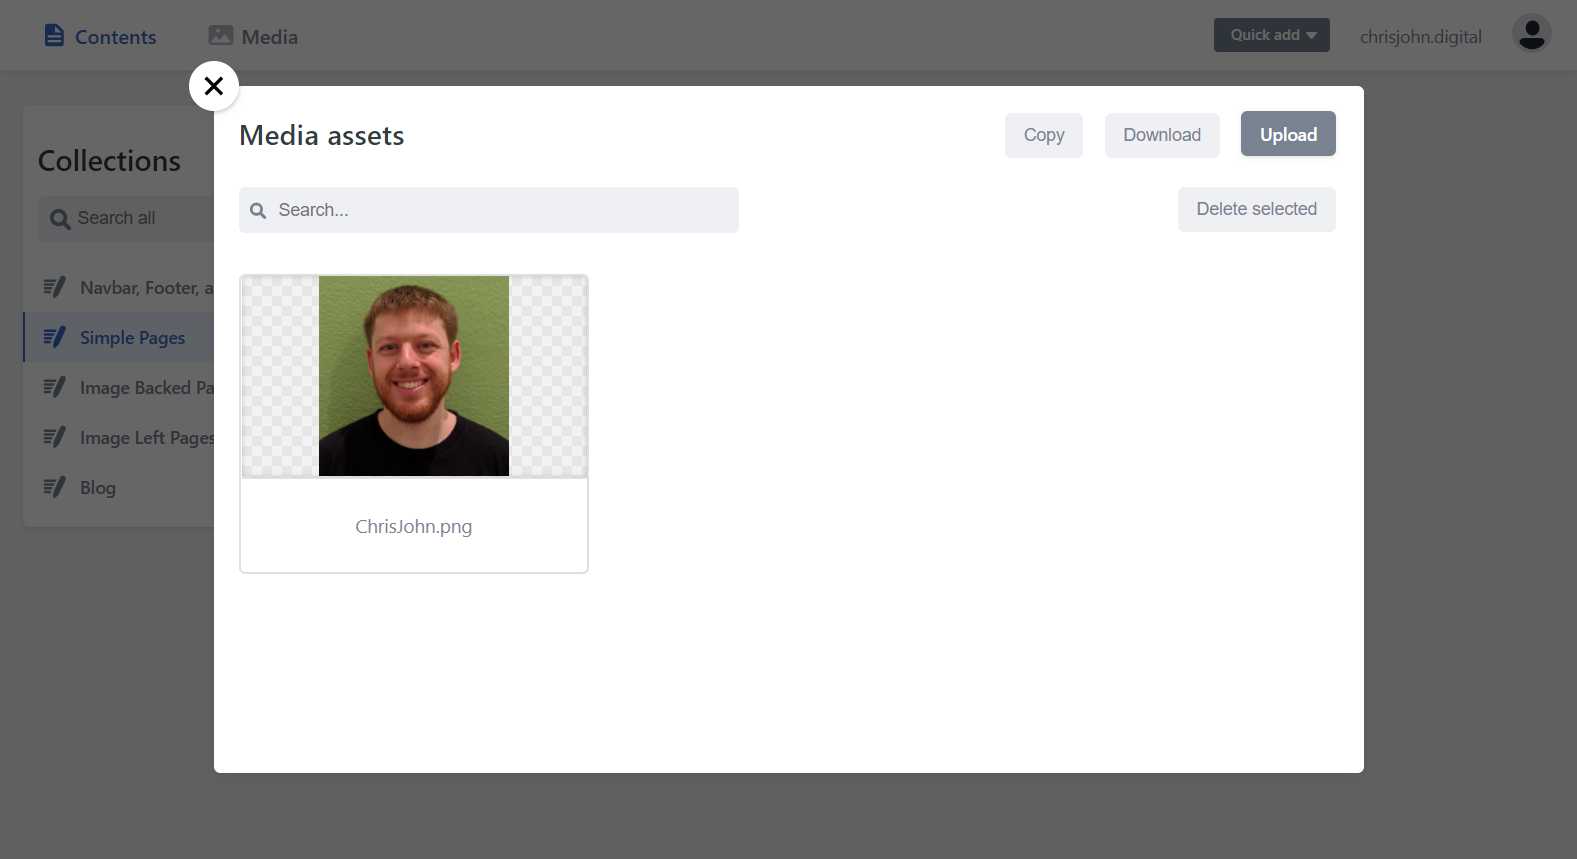
Media
Here you can upload, download, and delete the images used on the website. Note that the media library doesn’t handle svg type images. Good formats to use in the media library are jpg and png.
If you have an svg that you want to use, that is possible, but right now it cannot be done through the CMS ui.
Note that images with a space in their name do not work properly in all places.